How to Create a Gallery Wall Without Losing Your Mind
|
|
A gallery wall is one of those home projects that looks effortless in design magazines and chaotic in real life until you know a few tricks. Whether you're the type who measures twice and cuts once, or the type who eyeballs everything and figures it out as you go, there's a path here for you. Both paths end in something you'll actually love looking at.
First: Know What Kind of Wall You Want
Before a single nail goes in, it helps to know your direction. Gallery walls broadly fall into a few styles:
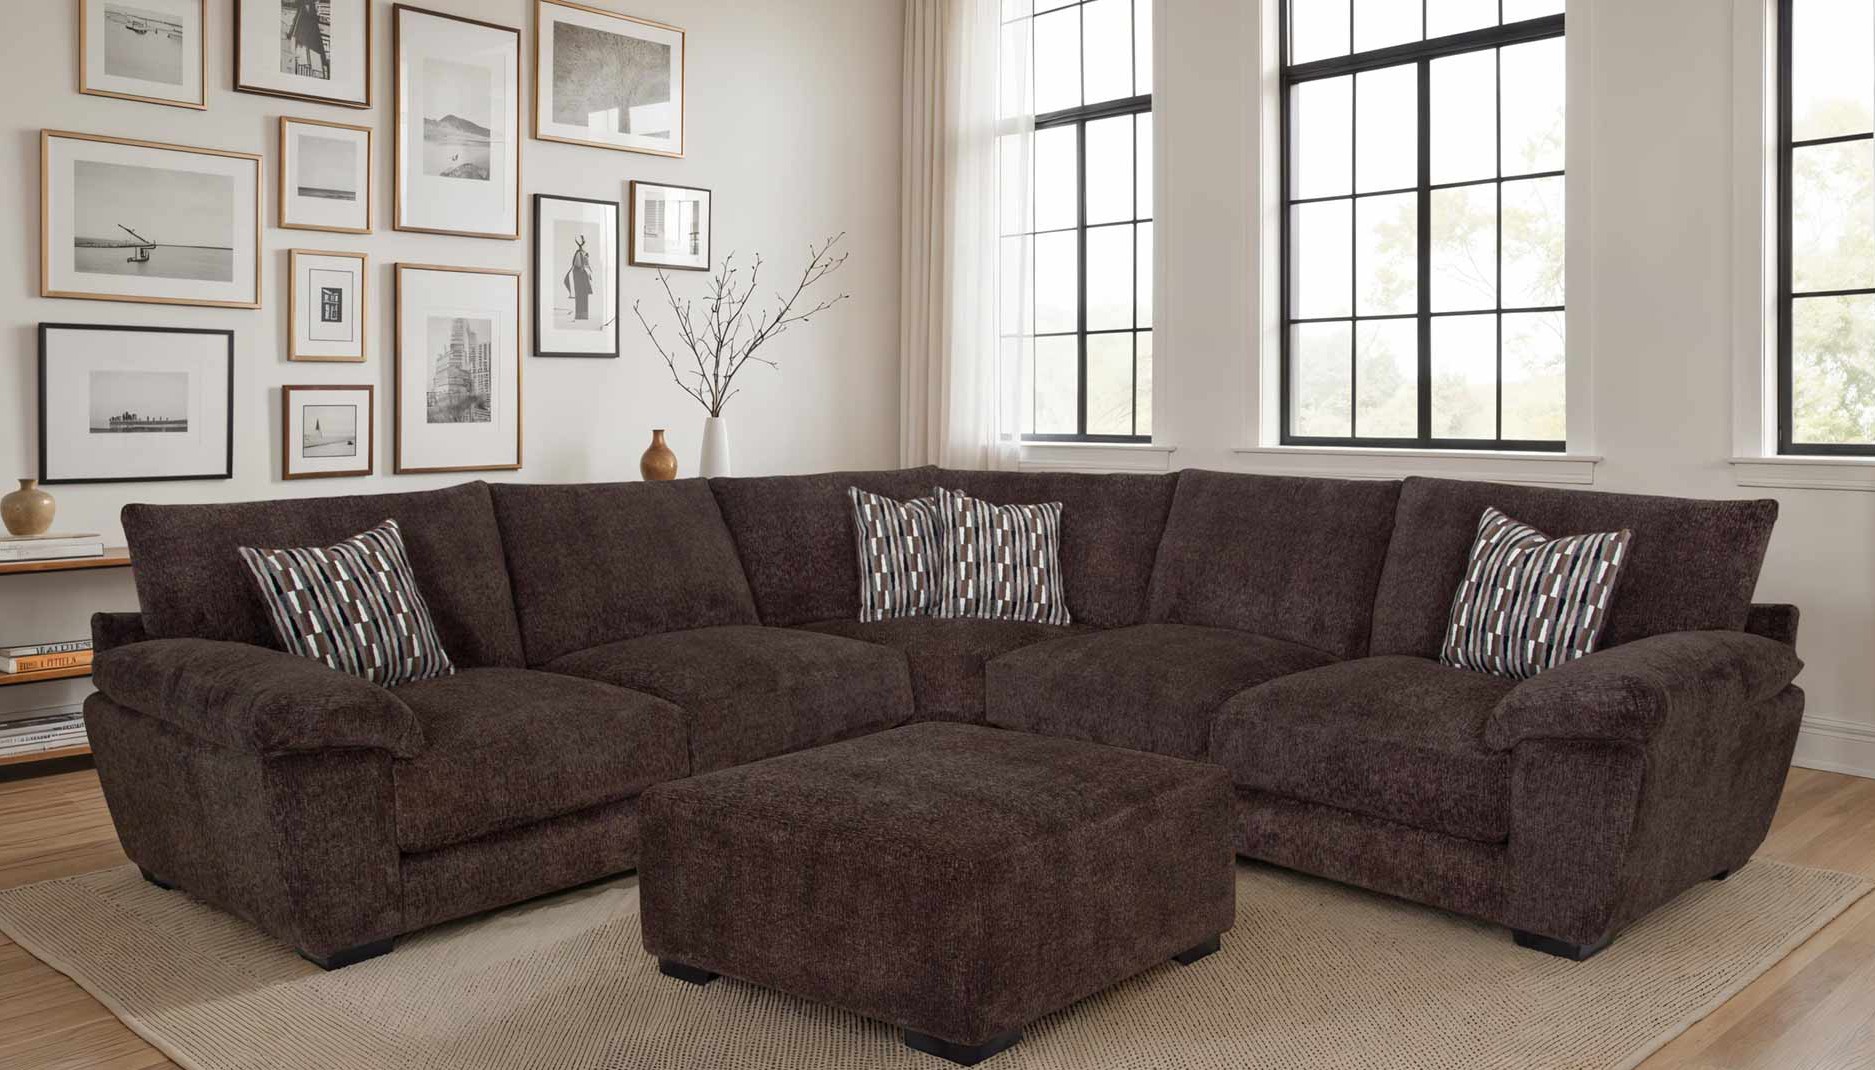
Family photo walls are the most personal. Cohesion comes from matching or complementary frames, think all black, all natural wood, or all white which lets the photos be the star. These tend to feel warm, lived-in, and emotionally resonant.
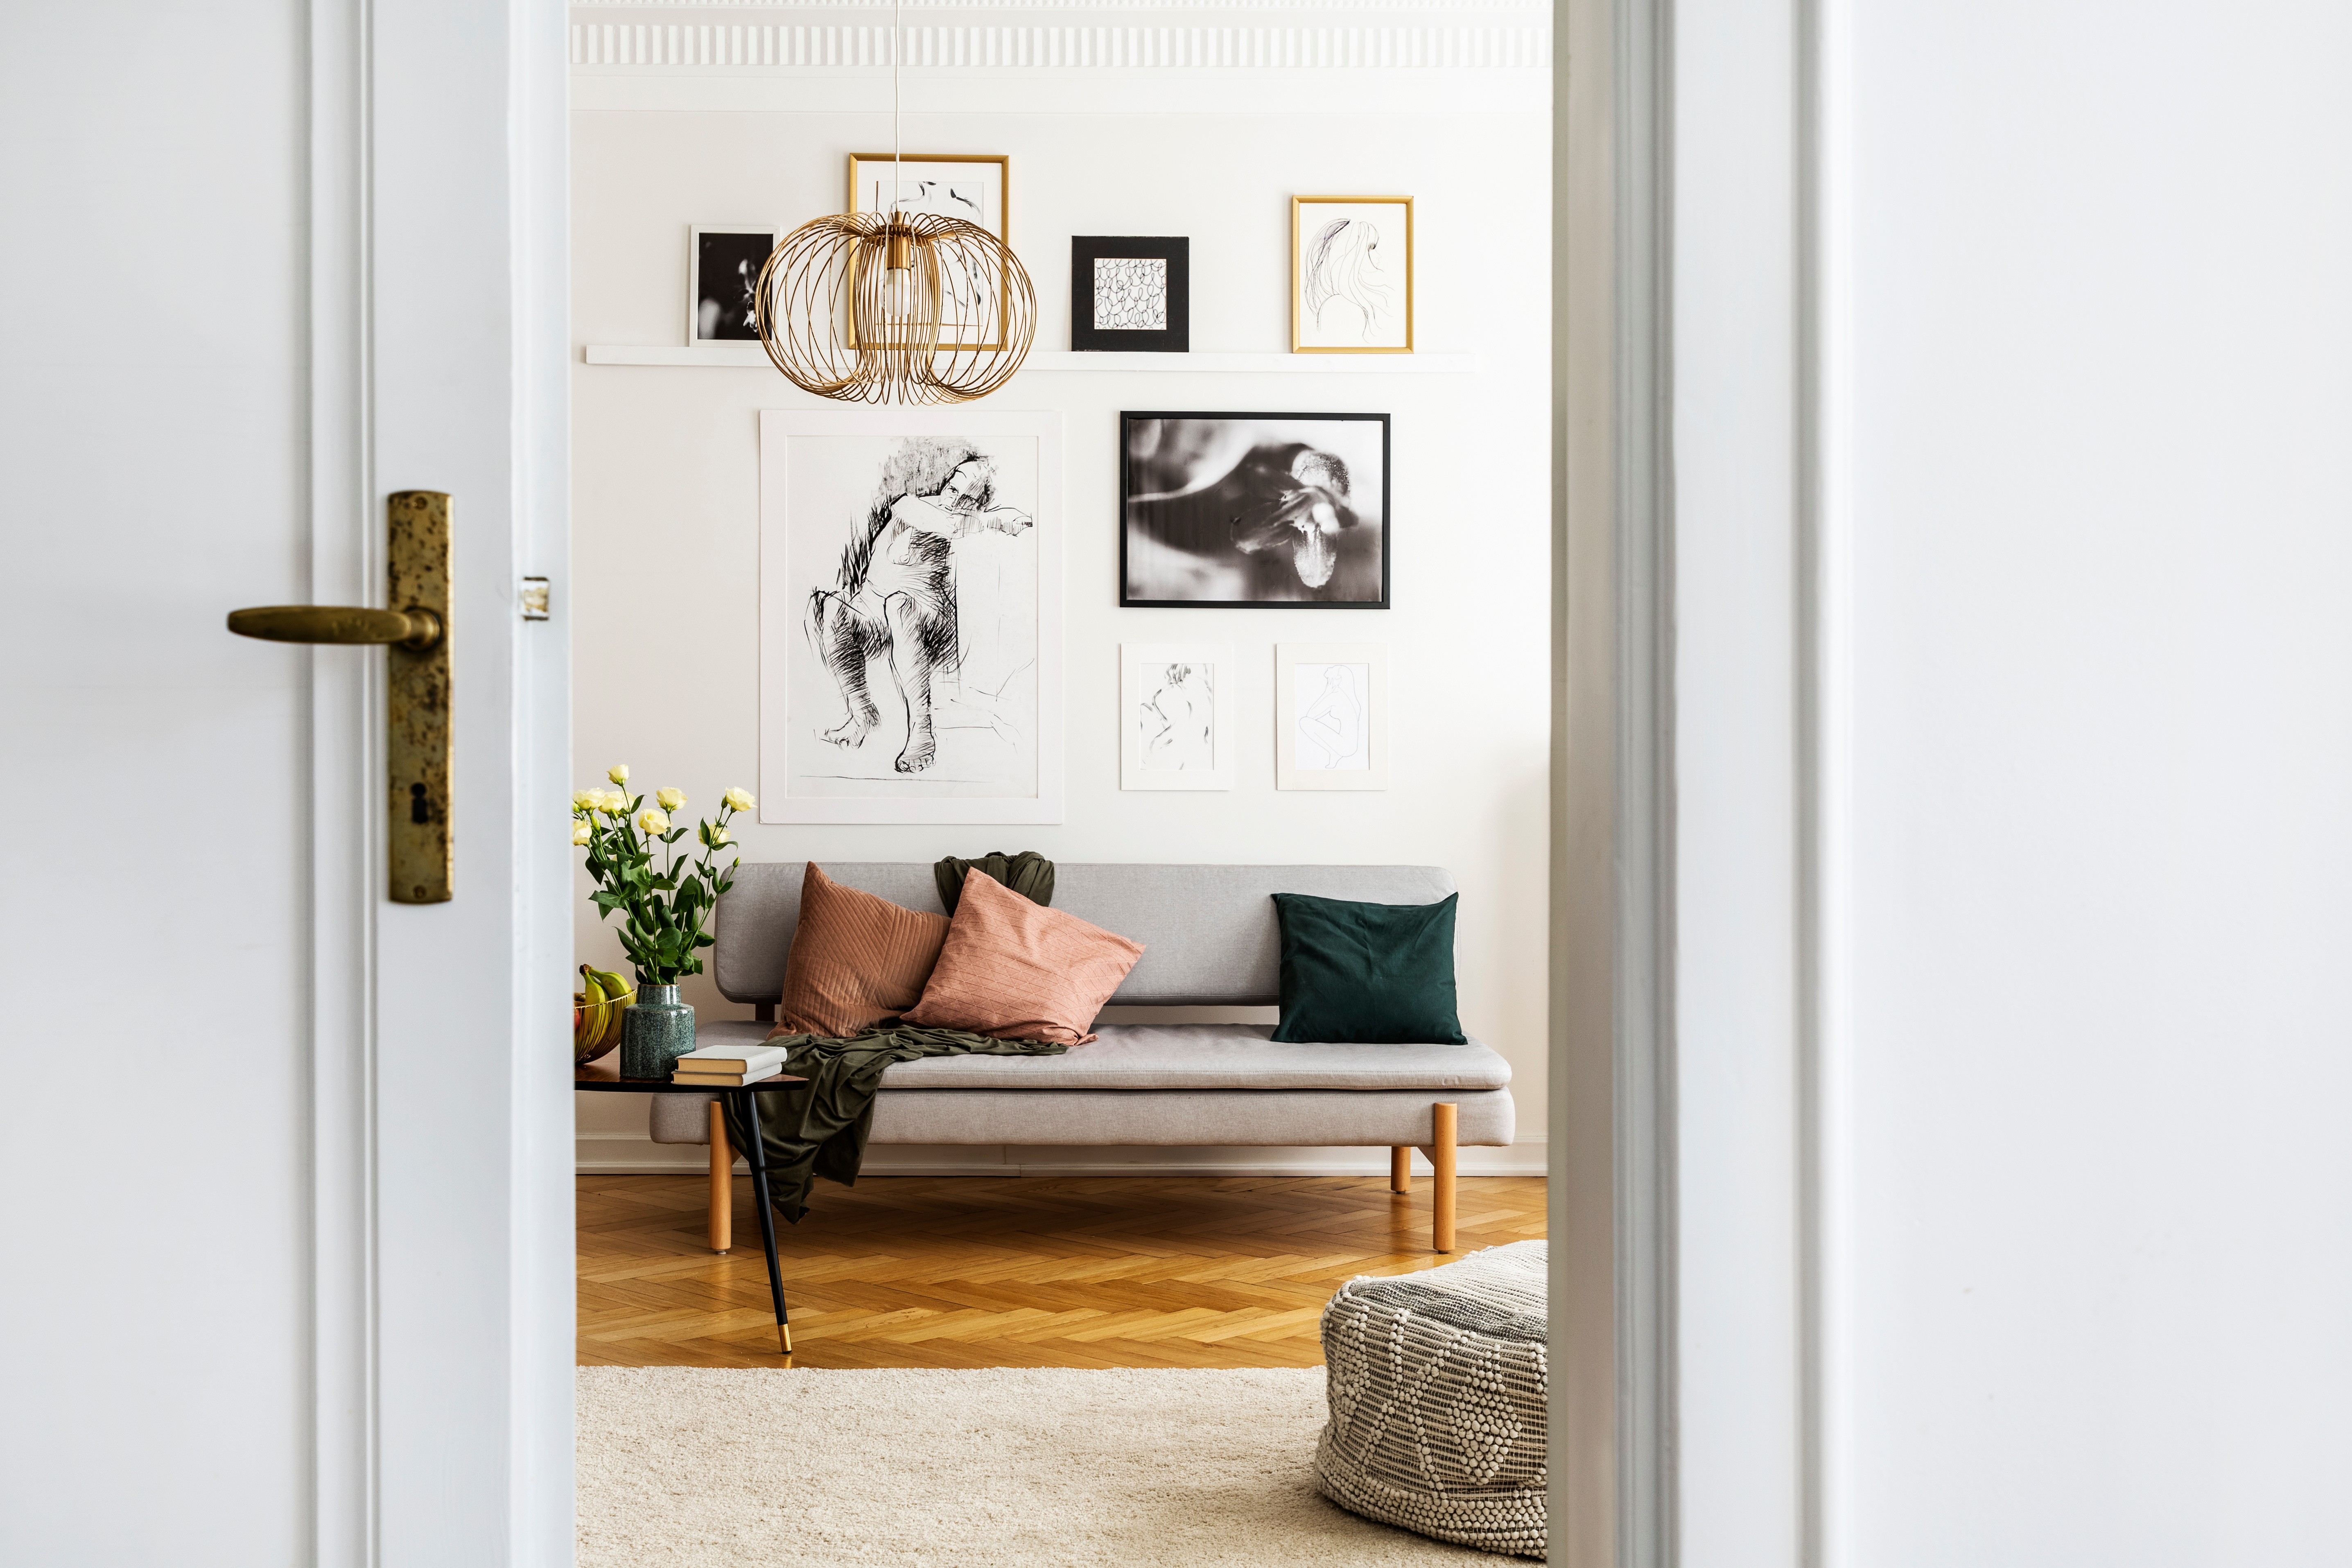
Curated mix walls combine art prints, framed photography, objects, mirrors, small shelves, and even a clock or two. The "collected over time" look. The key is finding a unifying thread like a color palette, a subject matter, a frame material, so it reads as intentional rather than cluttered.
Grid layouts are clean, symmetrical, and very satisfying if you lean more modern or minimal. All frames are the same size and evenly spaced. High reward but a little less forgiving on measurement.
Salon-style is the maximalist take being asymmetrical, densely hung, a mix of sizes and orientations. It's forgiving by design because there's no "wrong" arrangement. Great for renters or people who want flexibility to swap pieces in and out.
Shortcut for the impatient: Start with one large anchor piece and build outward. You don't need to plan the whole wall before you start. Just commit to a center point and go from there.
Planning Your Layout (Before Anything Hits the Wall)
This is where most people either over-engineer or under-plan, and both approaches lead to a wall full of holes.
The paper method: Trace your frames on craft paper or newspaper, cut them out, and tape them to the wall with painter's tape. You can rearrange freely until it feels right, then use the paper templates to mark nail placement. This is genuinely the most reliable method regardless of patience level.
The floor method: Lay all your pieces on the floor in roughly the size of your wall space. This lets you see the full arrangement before committing. Take a photo with your phone so you can reference it when you're up on the ladder.
Digital planning tools: Apps like Canva, Hutch, or even a simple grid in Google Slides let you scale pieces and try layouts virtually. Not essential, but useful if you have a lot of pieces or a complex wall.
Spacing guidance: 2–3 inches between frames is the standard sweet spot. It's close enough to read as a cohesive grouping, far enough that nothing looks cramped. For very large walls or oversized pieces, you can go up to 4–5 inches.
Shortcut for the impatient: Skip the paper method. Use painter's tape strips to mark the outer edges of each frame directly on the wall. Same idea, faster setup, easier to eyeball adjustments.

Measuring and Hanging (The Part Everyone Dreads)
Here's the honest truth: hanging is 80% measuring and 20% hammering. Get the measurement right and the rest is easy.
Find your center. Identify the visual center of your arrangement and mark it. For most walls, the center of the gallery should sit at eye level at roughly 57–60 inches from the floor. This is the museum standard, and it works in virtually every room.
Two-nail rule for large frames: Anything over 16 inches wide should be hung on two nails or hooks to stay level and bear the weight properly.
Hardware matters more than people think. D-rings and wire are the most versatile hanging systems because they allow micro-adjustments after hanging. Sawtooth hangers are fine for small frames. For renters or anyone not wanting permanent holes, command strips with the appropriate weight rating are legitimate for lighter pieces. French cleats are the heavy-duty option for larger, heavier pieces and create an almost invisible floating effect.
Wall surface considerations: Standard drywall takes a simple nail or picture hook. If you're hitting plaster, you'll need a drill and plastic anchors. Brick requires masonry anchors and a drill with the right bit. Always locate studs for anything heavy. A stud finder is a good investment that earns itself back immediately and can be found in a multitude of budgets and bells and whistles.
Level up: A laser level takes the guesswork out of getting rows straight. A standard bubble level works too it just takes an extra 30 seconds to use it.
Shortcut for the impatient: Use self-adhesive leveling strips or "no-measure" hanging strips that have a built-in level indicator. For a salon-style wall, embrace slight imperfection, it's just part of the aesthetic.
Mixing It Up: Beyond Just Frames
The gallery walls that get saved to Pinterest aren't usually just frames. A few additions that elevate the mix:
Mirrors add depth and light. Even one mid-size mirror worked into an arrangement makes a wall feel more dynamic and helps smaller rooms read as larger.
Small shelves (ledge-style picture rails are particularly versatile) let you prop frames without hanging them and swap pieces out without new holes. They also let you add dimension with small objects such as plants, decorative pieces, candles; you get the idea.
Clocks are underused in gallery walls. A wall clock in a complementary finish gives the eye a non-rectangular element to rest on.
Woven or textile pieces add warmth and texture that a wall of glass and frames can't match. Even a small macramé piece or a framed fabric swatch reads differently than everything else.
Three-dimensional objects like a decorative plate, a sculptural piece, a hat. Anything that can be mounted and create real visual interest when surrounded by flat frames.
Frame Cohesion: When to Match and When to Mix
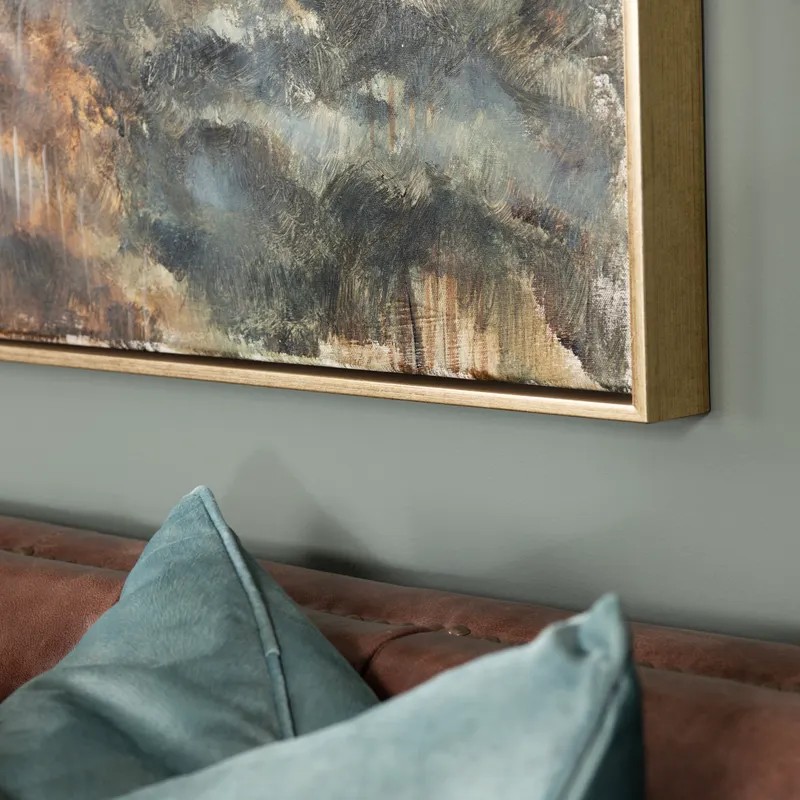
Matching frames create calm. Mixed frames create character. The trick is knowing which one you're doing intentionally.
If you're mixing frame styles, pick one element to keep consistent like color, finish, or material. All-black mixed styles read as curated. A truly random mix of gold, black, white, wood, and silver can feel chaotic unless the pieces themselves are the connecting thread.
Mat color also matters. White mats are classic and make almost any print look more polished. Black mats are dramatic and work well with photography. No mats work when the art itself has enough presence to fill the frame.
Lighting: The Underrated Finishing Touch
Lighting can make or break a gallery wall. Natural light is your best friend but watch for glare on glass frames or direct afternoon sun can wash out a wall entirely. Repositioning frames slightly or opting for non-glare glass solves most of this.
For ambient or artificial lighting, a few options worth knowing:
Picture lights: small fixtures that mount directly to the top of a frame and add a gallery feel and are especially good for a single anchor piece.
Plug-in sconces or wall lights positioned near a gallery wall add warmth and draw attention to the collection without requiring hardwiring.
Track lighting or adjustable ceiling lights give you flexibility to direct light exactly where you want it and are the most flexible long-term option.
A Few Things That Trip People Up
- Hanging everything too high is the single most common mistake. Eye-level center, always.
- Starting too small using a few tiny frames on a big wall looks sparse. Go bigger than you think, or group closely enough that it reads as one statement.
- Forgetting to account for furniture below. If there's a sofa or console beneath the wall, the bottom of your arrangement should sit 8 to 10 inches above it, not floating halfway to the ceiling.
- Ignoring the wall color. Dark walls need more spacing between frames. Light walls can handle denser arrangements.
Let's Hang This Up
Once you get started everything will seem to fall into place. Then just sit back and enjoy your new gallery wall, and maybe even impress guests with eyecatching results.
Related Articles


Using A Digital Room Planner
How to Use a Digital Room Planner to Design Your Dream Space


Creative Ways to Hide Cords on a Wall Mounted TV